We’re in post, working like crazy foxes on a new short film for Atelier Stark.
As always, at any given time we’re shooting, editing, and planning… all at the same time. On any given day I could be in front of Premiere Pro, or scheduling shoots & scenes, or Loni and I could be in the “sound booth” working on ADR or voiceover. Variety. I like it. Keeps things interesting!
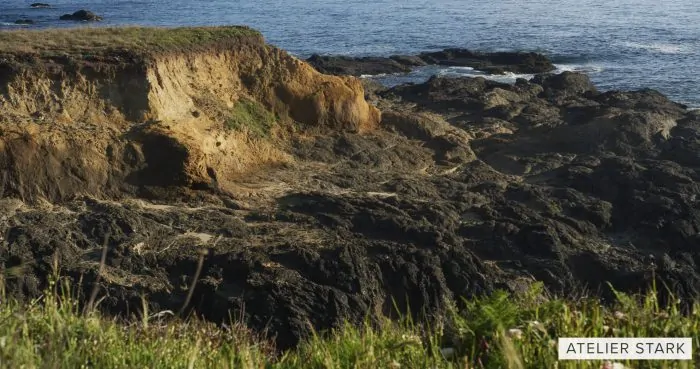
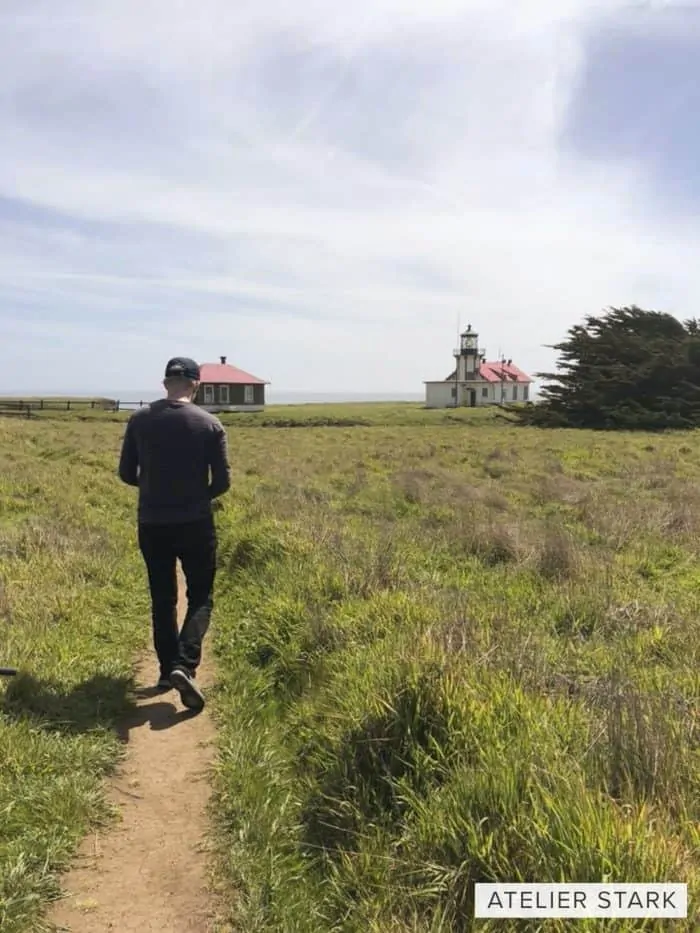
Recently, I finally had a chance to shoot with the RED Scarlet-W on an outdoor project. I was ever so fortunate to find myself along the beautiful Pacific Coast up in Mendocino. Charming place. Real small town feel. Friendly people. And, man, those coastal views. Pretty, pretty stuff. I’m so glad we hauled the camera gear, along with Loni’s art supplies.
My favorite part of working with RED footage is not necessarily the image produced by the 5K Dragon sensor.
Yes, it’s gorgeous. Filmic, with lots of dynamic range. Anything but the dreaded super-sharp video look (think 60fps on 60fps timeline) that seems so trendy these days — fair enough, I tell my crusty self… I guess it has its uses, and people do creative things with it, but for me it’s all about that organic look and film grain even if digital.
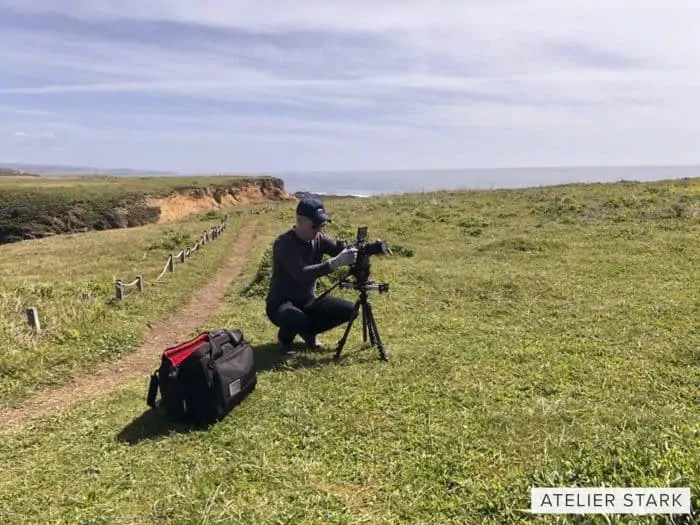
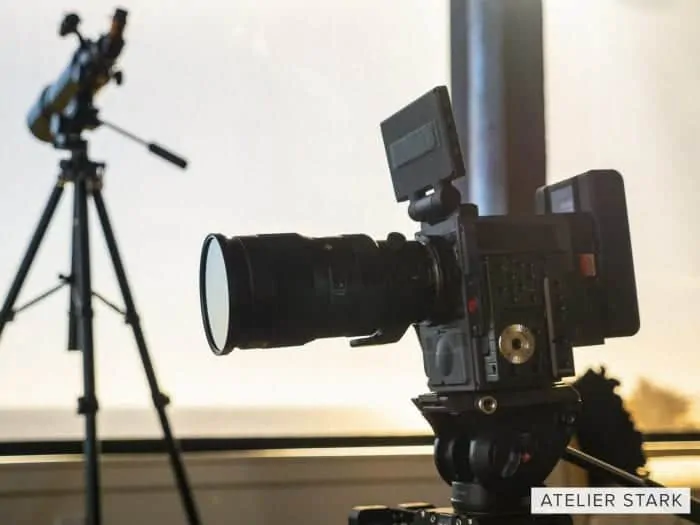
No, for me at least, it’s the flexibility to tweak the image after the fact. The latitude you have in post with Redcode files (.R3D) — either in Premiere, or Resolve, or the free REDCINE-X app — is incredible. Push colors. Change white balance. Add blue to the shadows. Add film grain. Re-frame. Change the ISO, even by large amounts. It seems that whatever you do you simply can’t “break” the footage, and in most cases it takes a crazy amount of pushing and pulling to introduce artifacts.
One particular challenge on this shoot was that super bright, omnipresent California sun. It can drive me crazy at times. So I needed ND filters. That was easy. But seeing the image on the RED LCD monitor was almost impossible. I should’ve brought a sun shade; inexpensive and handy. In the end I had to shadow the monitor by blocking the sun using random body parts and focus using the “edge” assist mode. Then: pray to the focus gods.
Normally I’d use the (awesome) Atomos Ninja Inferno. That 7-inch monitor/recorder has superb brightness and the Atomos focus peaking tool is so easy to use. However, just days before our trip it conked out. Even though it was a few weeks past warranty the good folks at Atomos repaired it for no charge, and shipped it back quickly (the repair location I sent the unit to is based in Oregon so that was handy in terms of distance). Something on any shoot will always go wrong, or not go exactly to plan… you just learn to roll with it, and even try to improvise. Making lemonade out of lemons, right? Or something like that.
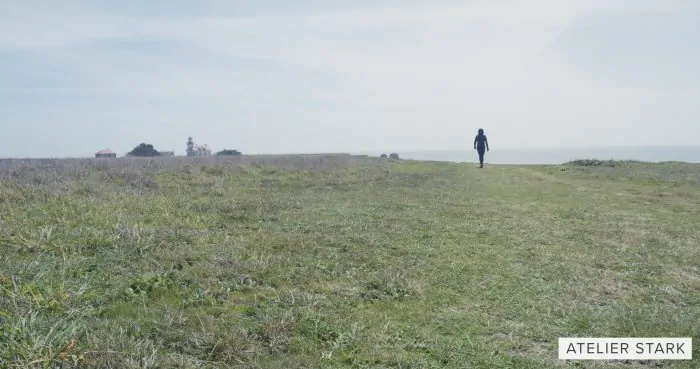
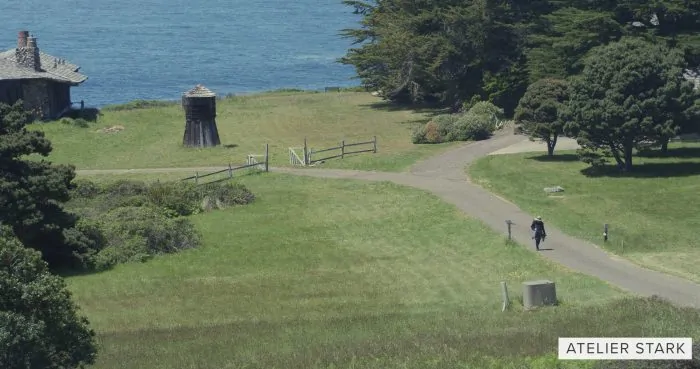
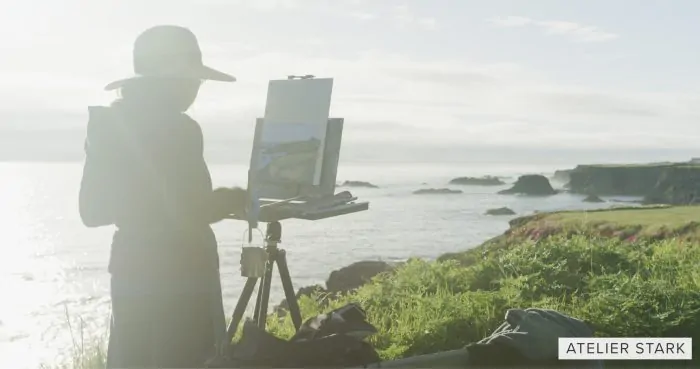
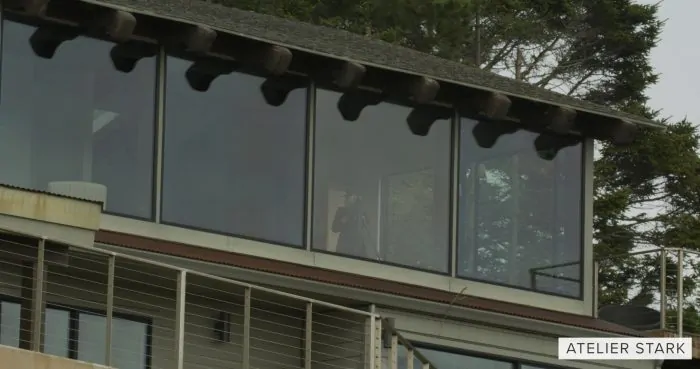
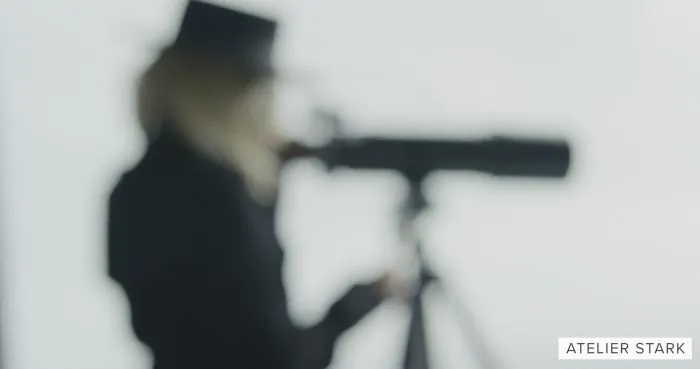
In any case, thought I’d share a few stills from the upcoming short film. You can see them below.
We’re still shooting a few extra scenes. These shorts seem to take longer and longer as we layer more technique into post production. Lately, that means a lot of focus on sound design.
Stay tuned on Stark Insider for more, and, if you’re curious, check out Atelier Stark where we’re incubating Art and Film projects.
Look Book: Stills from Mendocino Short Film Project for Atelier Stark
Camera: RED Scarlet-W
Lenses: Sigma 18-35mm ART 1.8 and Sigma 50-100mm ART 1.8 (a match made in cinematic heaven, especially the price relative to costly cinema glass)
Studio: Atelier Stark

