Update #1: For those interested in my plans for this project please find plans and download instructions here. — Best, Loni Stark
Update #2: Hi everyone, I’ve posted a video with tips on organic fertilizers. Happy gardening! Loni
Update #3: Another video, this time with a few maintenance tips. Thanks again for visiting.
Update #4: Don’t forget about watering, make it easy with this micro-irrigation video!
Update #5: Send me your results (loni@starkinsider.com)! Photos, videos. I’ll post then on Stark Insider. Here are some great ones sent in from around the world: Monica, David B in Australia, Julie’s herb garden, Paul B and his cucumbers)
Update #6: To help make things easier for you I’ve created a gardening link with all my DIY planter box photos, tips, plans, ideas, videos and even photos you’ve all sent in to me of your finished projects!
Update #7: More photos! Steve sent in some great shots of his completed planter. I’ve posted them here. Don’t forget to email me your project photos.
Update #8: Spring is coming (in the U.S. at least) and I wanted to let you know we’ve passed 2,000 downloads for the plans that built the vegetable planter you see here. I am amazed! And thank you everyone for all your amazing feedback, photos and stories. Much appreciated. I am so pleased this design is going to good use around the world… ps – a quick hello to those visiting from New Zealand, and Australia!
Loni Stark’s DIY Veggie Planter Box
Perchance it is the recent “green living” trend…
… maybe it is the particular agricultural chapter I am on in my book, “Guns, Germs and Steel”.
… possibly it is the fact that after going through my baking repertoire of lemon biscotti and lemon bars, I realize there is not much one can make that uses the abundance of lemons I have in our garden.
Whatever it was, it didn’t take too much further coaxing than a radio ad for 2-for-1 vegetable plants while driving home one day to convince me I wanted to have an organic suburban farm. All of a sudden the image of me happily digging through dirt or presenting a dish at a dinner party and declaring that not only did I make the dish, but also grew the vegetables became an obsession.
Read on for the story, photos and DIY planter box plans…
So I dragged my unsuspecting spouse to Home Depot to buy the vegetable plants that were on sale for 69 cents each. Now here, dear reader, is an economic lesson on how to use sunk costs to your advantage. Clint did mutter the question, “Now where do you expect we plant these?” To which I cheerfully said, “We’ll figure it out, for 69 cents, how can we go wrong?”
It wasn’t too long after the plants arrived home that I sheepishly looked at Clint and said I had an idea of where we could put the plants.
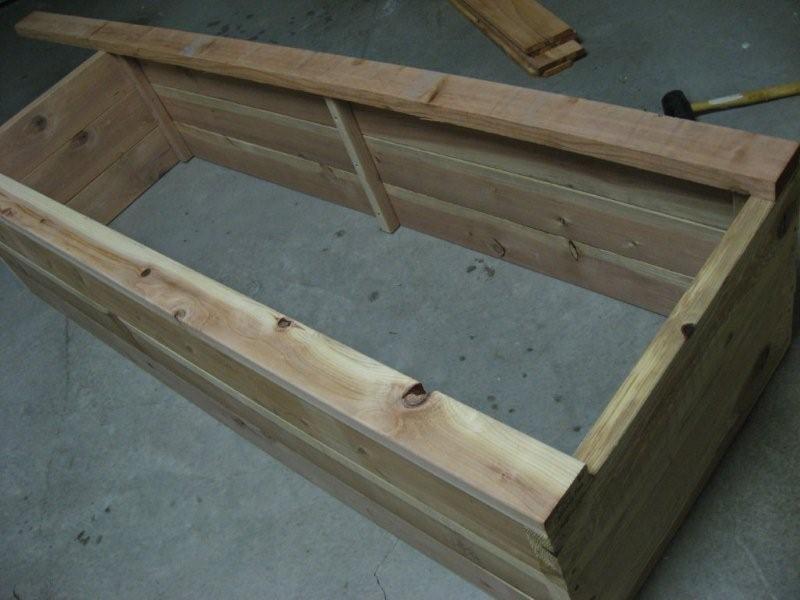
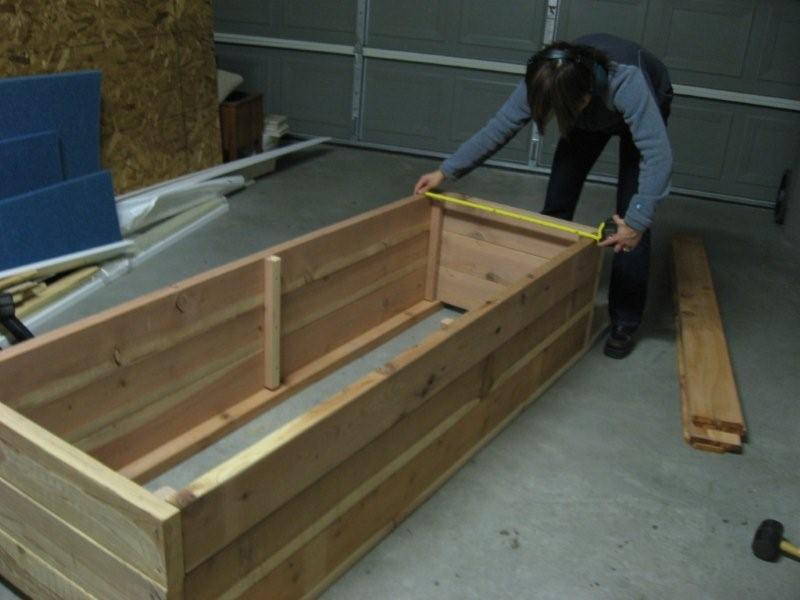
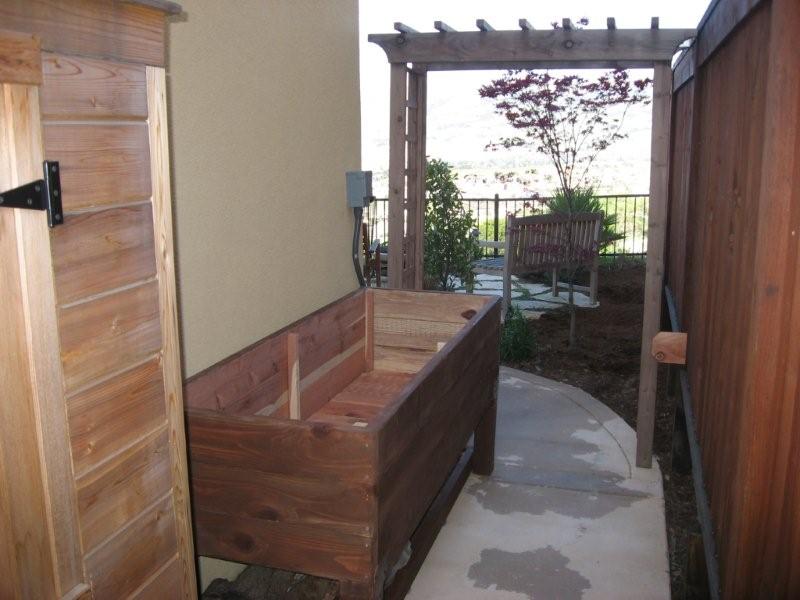
I declared I knew the perfect place on our side yard and all we needed to do was get a planter box. Having scoured the web for different ideas, I knew I wanted a 2′ (depth) x 6′ (width) x 3′ (height) redwood planter box.
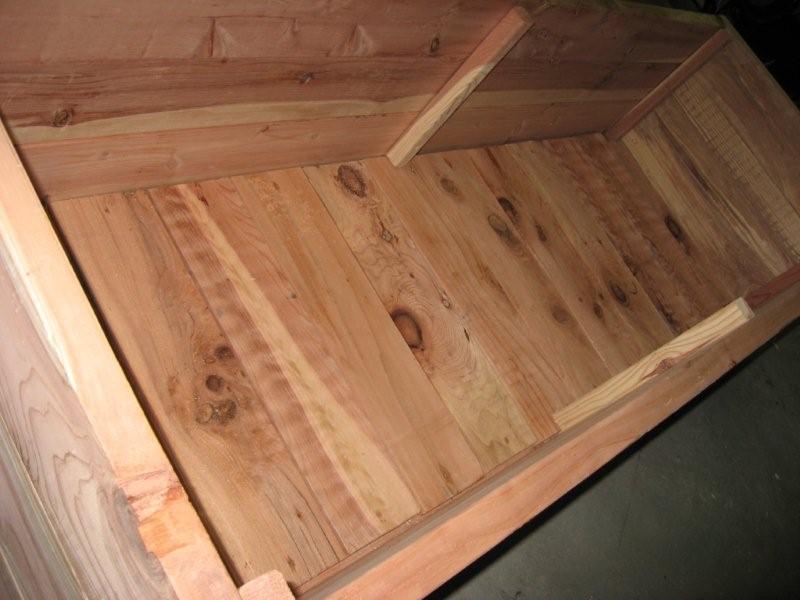
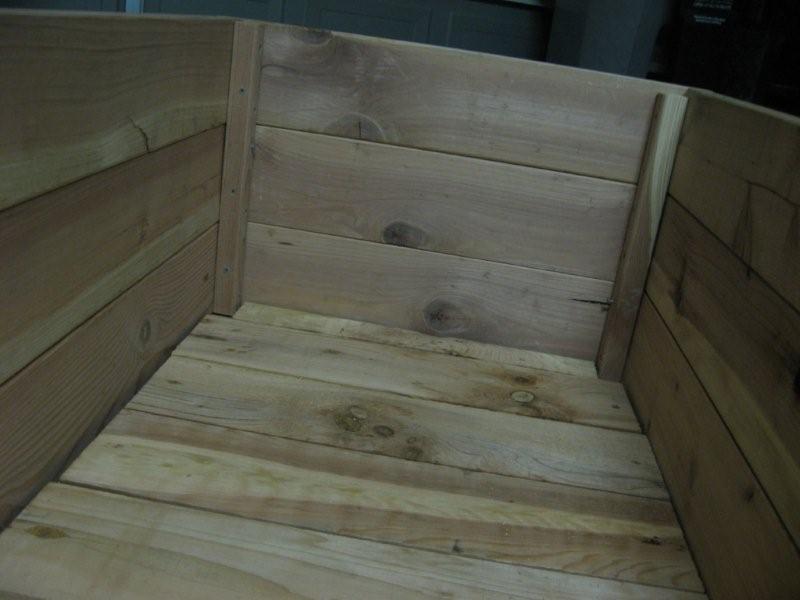
Unfortunately, I couldn’t find the exact box I wanted so proceeded to design my own. Let’s just say that after two weekends, hauling back lots of redwood timber and lugging bags of soil & compost, I am one happy organic suburban farmer!
If you are interested in building such a redwood planter box, here is the inventory of materials you will need (note: I did build a bottom shelf for my planter table which allows me to store bags of soil – this is optional and not part of the list of inventory):
Read on for materials list, more photos and videos…
Loni’s Vegetable Planter Box Materials List
Redwood (depending on dimensions your lumber yard carries, you will need to determine most efficient way to purchase and cut into the proper sizes)
- 6 pieces: 72″x2″x6″ (long side of planter box)
- …
For complete materials list, please visit this page to download the plans. To help save you time and stay organized I have itemized the list across 5 categories:
Redwood
Hardware
Finishing
Equipment
Soils
As you can see, the project greatly expanded in scope from the original 8 little vegetable plants we got.
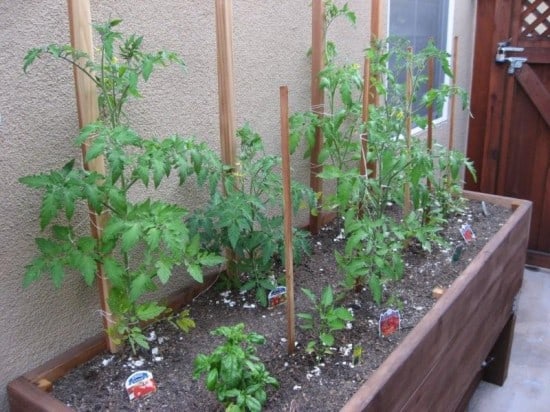
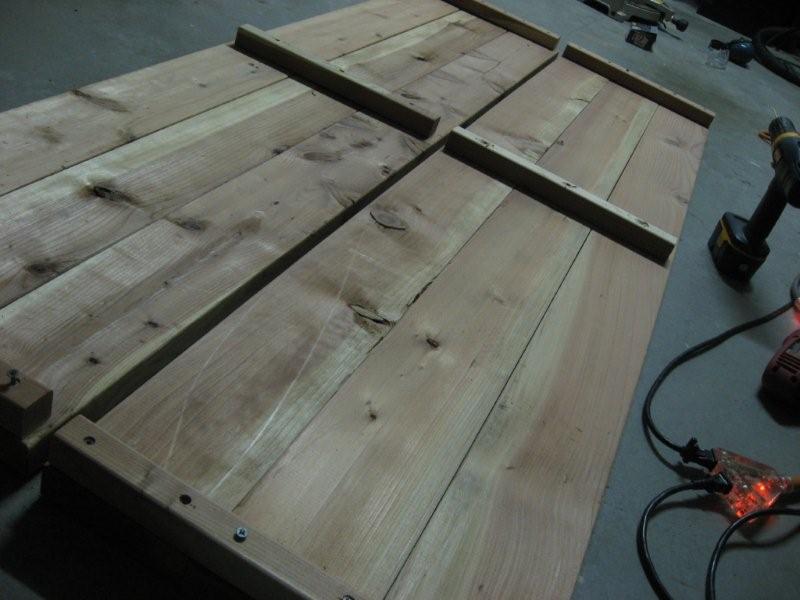
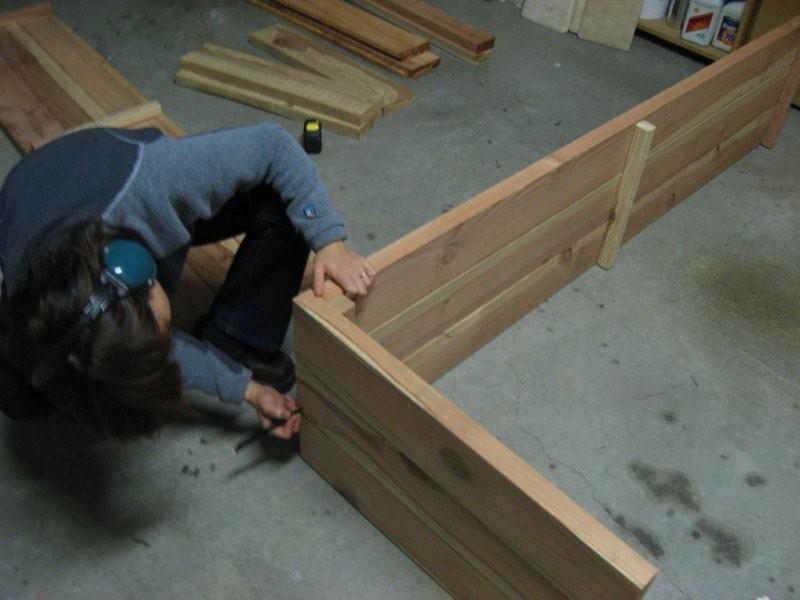
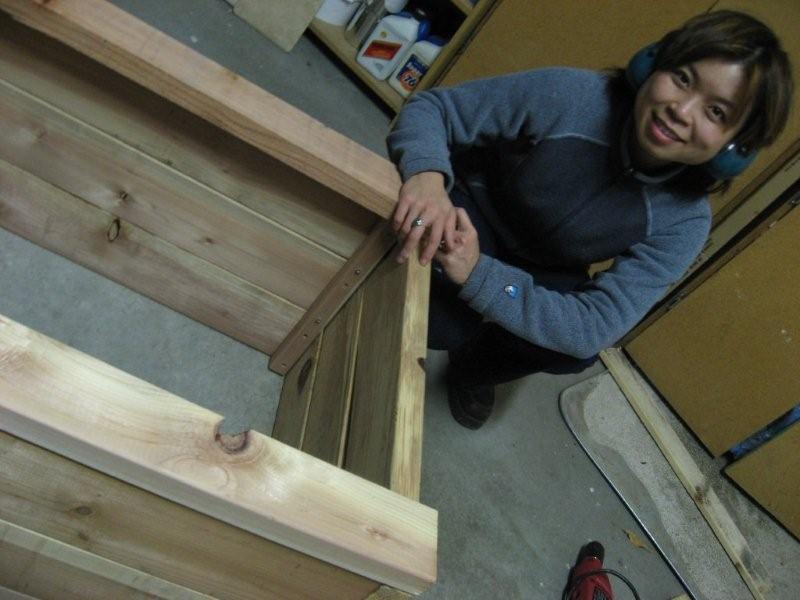
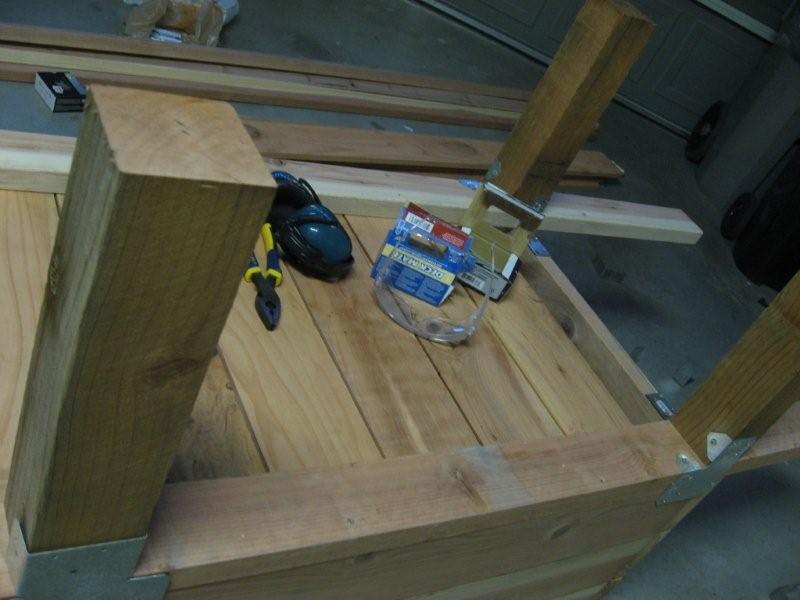
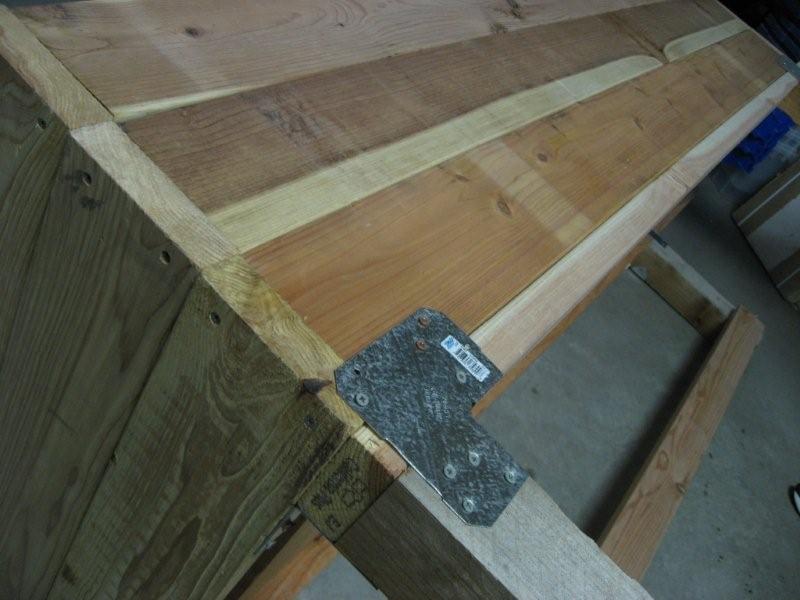
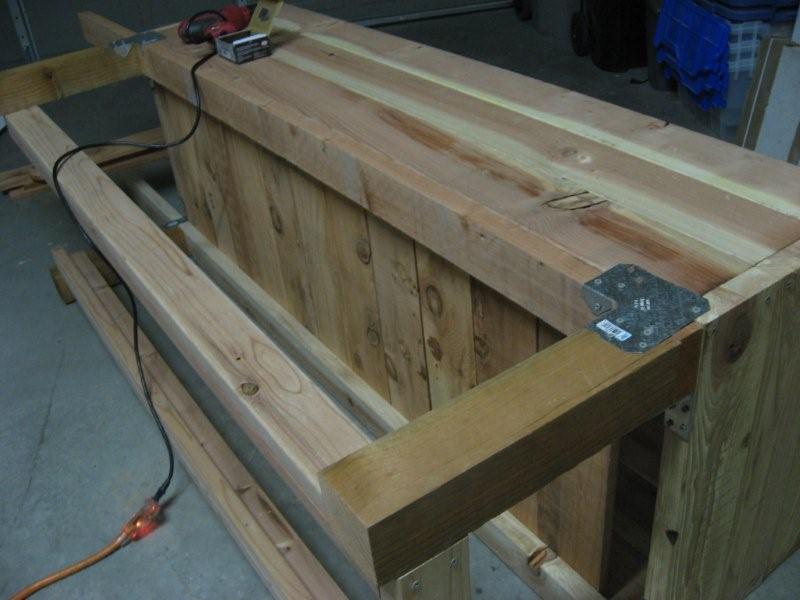
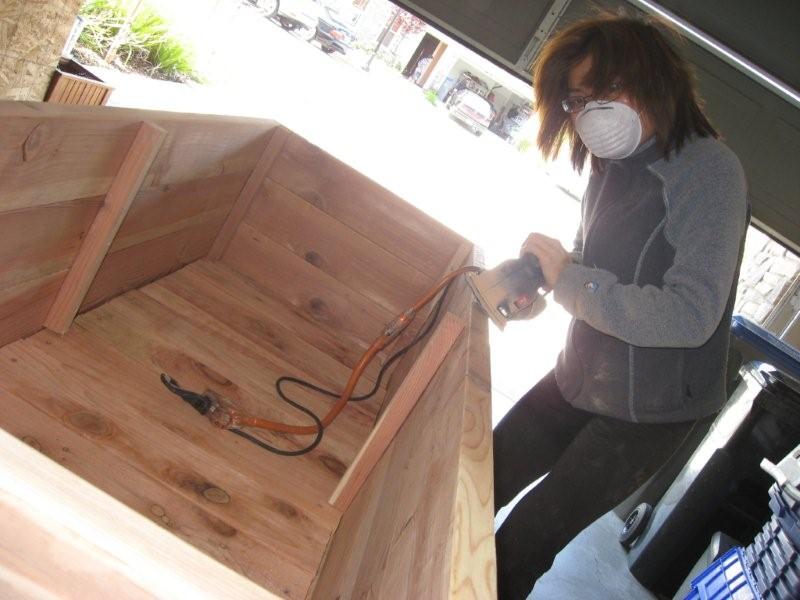
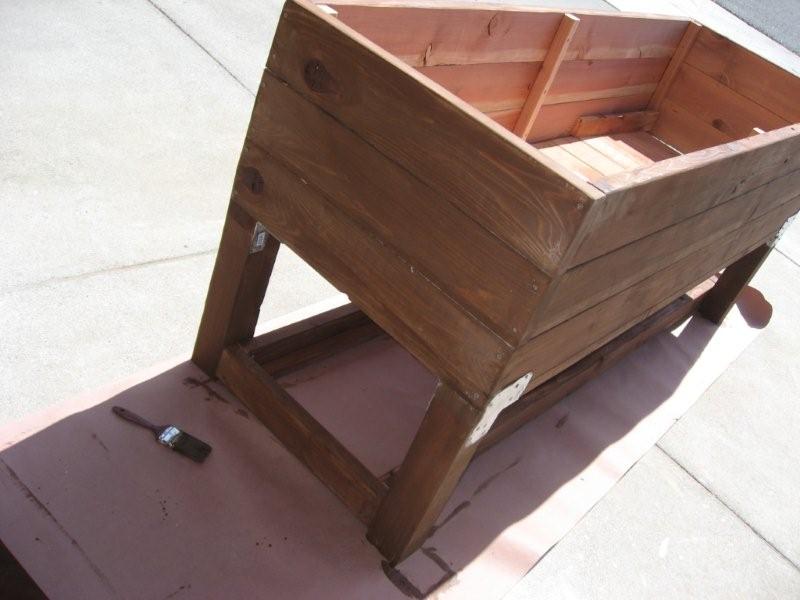
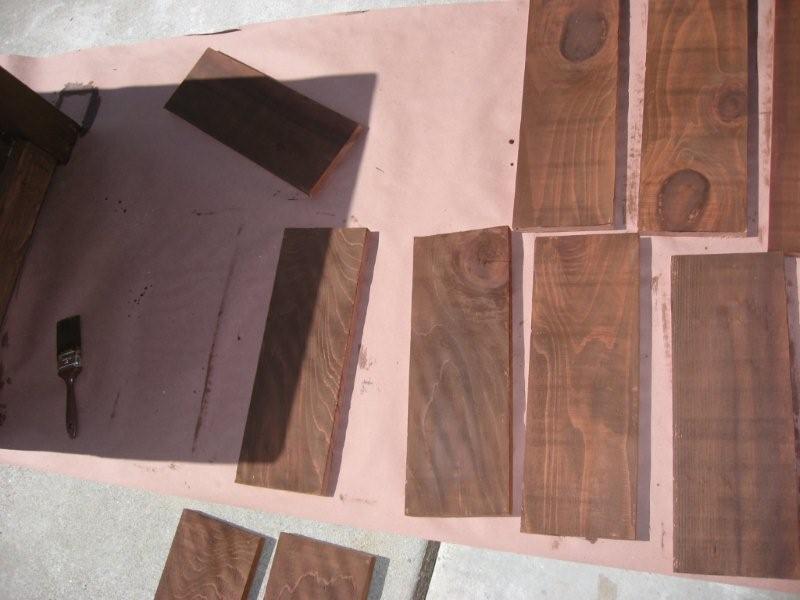
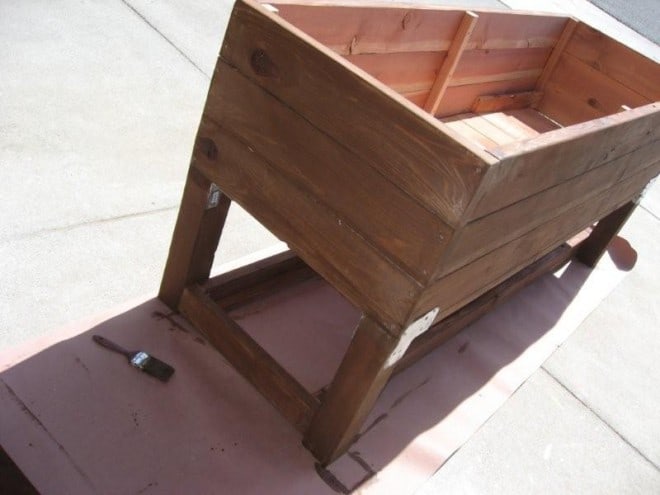
I’ll keep you updated with photos of the progress of my tomato, cucumber, pepper (token plants for Clint), basil and strawberry plants! Speaking of photos, here are some of the planter box project. Like any good HGTV show, there are many pictures of the star but none of the behind the scenes spouse who did a fantastic job of cutting wood, taking photos and being an all around good sport about it!
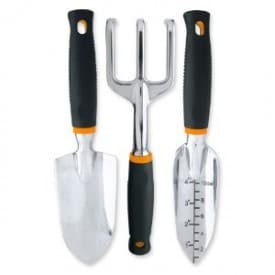 One final thing, a lot of you have asked about a simple gardening tool set to get started.
I whole-heartedly recommend Fiskars. It costs a little bit more in the short-term, but is worth it imho. I use their shears, hand trowel and rake and love them (see photo on right) and expect them to last, well… forever.
So here’s one recommendation:
Photos: Building a DIY Vegetable Planter Box
Best of luck with your planter box project and happy gardening!
Loni
P.S. If you are interested in more details, please visit this page where you can download the DIY plans with all the information you’ll need.

