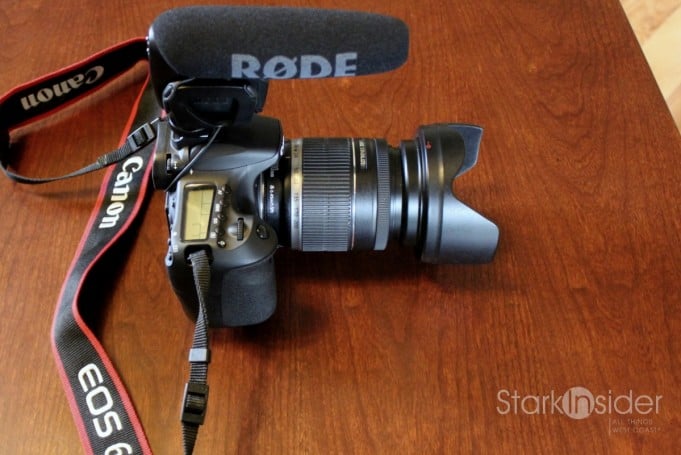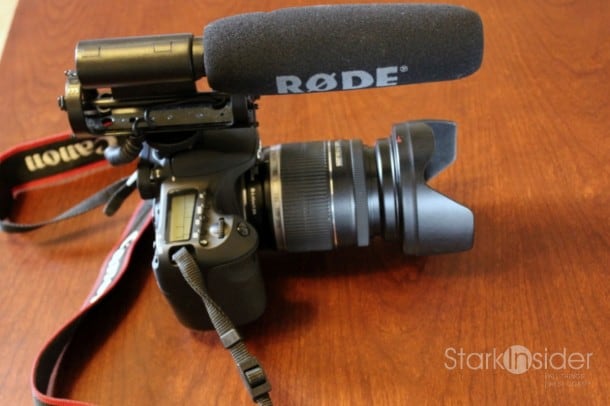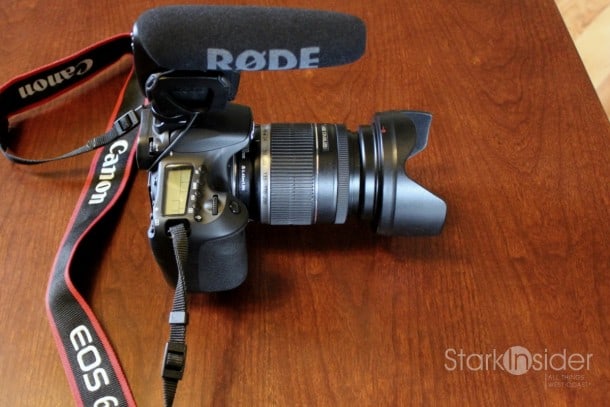
One of the first things you should do if you’re somewhat serious about sound quality is mount a shotgun mic on your DSLR. Be it a Canon T3i, 60D, 5D Mark II or Nikon D9000, the results (watch the videos below of the Videomic in real-world action) will far exceed the capability of the built-in mic.
If you’ve been holding off because of concerns over price or portability, you might be surprised to learn that you needn’t sacrifice either. My weapon of choice comes from Rode, a manufacturer known for making well-respected kit. Specifically I’ve been using their Videomic for years and recently the more compact Videomic Pro. Hobbyists, doc makers, even indie film directors would do well to at least consider short-listing them. Sure, you’re not going to replicate the broadcast quality results of a mic costing $1,500; but these mics are great for picking up background audio, capturing ambiance you can layer into your productions, or when used in a dual audio system, for reference sync in post production. Thanks to a universal 3.5mm plug chances are these mics are already compatible with your DSLR.
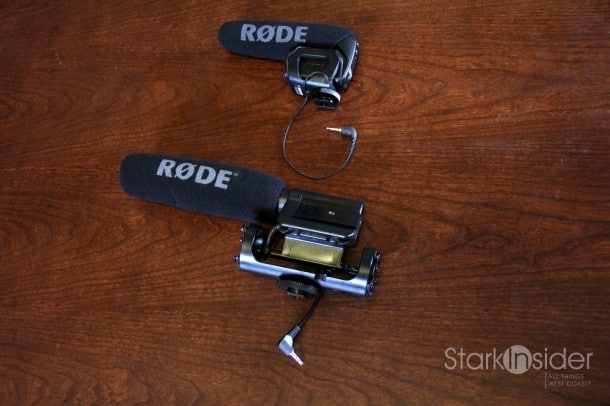
Rode Videomic
In 2009 I bought a Rode Videomic and am generally pleased with its performance. It’s light years beyond the T2i built-in mic and produces deep, rich bass with decent mid-range and impressive directional control. In particular I like the rubber band shock absorption system that is simple and works (for the most part- more on that below), almost eliminating unwanted operational noise. Battery life is a plus too. The mic seemed to go forever on a single 9-volt.
On the down side, the original Videomic is a tad bulky. Both the front and rear will extend beyond the body of a traditional DSLR. It’s manageable, but it can cause some issues. For example the rear overhang can interfere with your ability to frame shots using the viewfinder, or to work with accessories such as a lupe. Again, it’s never been a huge problem for me, but you should be aware of that limitation.
Rode Videomic Pro
Enter the Videomic Pro shotgun mic. A lighter, smaller and higher performance version, the engineers took what I loved about the original and made it even better–all for only$100 more. I’d guesstimate it sits on my EOS 60D about 95% of the time. It’s inconspicuous size really lends itself well to run ‘n gun, what we tend to do a lot of here on Stark Insider.
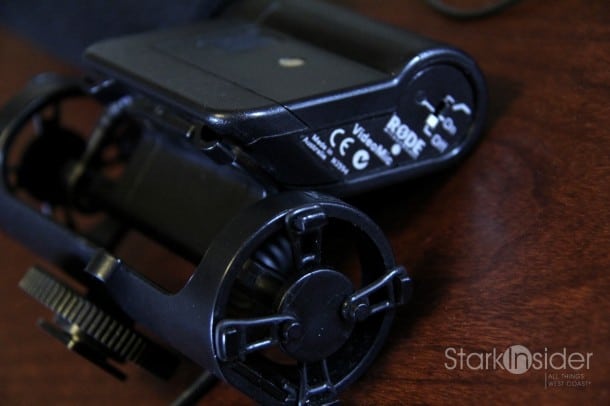
Improvements include a two-step high pass filter. You can boost (+10) or reduce (-10) audio with a toggle at the rear of the mic. On the Videomic, you need to inconveniently remove the battery cover to access this control. When recording live events with loud music (when a band is performing for example) I suggest using reduction. With the levels tamed, you’re far less likely to encounter distortion.
One complaint about the updated version is the cord. It’s no longer coiled. Worse still, it feels fragile. Many have complained on forums that it looks cheaply built and likely to break in the field. I agree with those assessments. Though I have yet to have a problem with the cord (or the mic in general) I would prefer the coil design; it also makes it easier to wrap the cord around the camera when mounting, and potentially further reducing incidental noises.
Now that I use the Pro as my go-to shotgun, I’ve relegated the original to backup duties. I’m also considering getting the Rode boom pole and attaching the Videomic. With a tiny Zoom H1 I suspect it wouldn’t be hard to wire up a portable boom pole with respectable performance.
Tips for the Shock Mounts
Those tiny rubber bands on both models that cradle the mic and reduce unwanted noise as the camera is moved are a good news-bad news proposition. When they work, especially when new, they’re great. Over time, though, they wear. I’ve even had them break on the Videomic. Fortunately Rode provides a bag of extras. I’ve never had them break (yet) on the Pro.
- Before each shoot visually inspect the rubber bands (4 on the Pro, 8 on the original) and ensure they are seated properly; if they have fallen off or come apart, you will most certainly get handling noise on the audio track.
- When dry, the Videomic rubber bands can occasionally “squeak”. Shooting in Hawaii recently I had to coat them with a small amount of cooking oil to reduce the friction–this worked!
Tips for Post-Production
Yes, these are great mics. But they’re hobbyist/amateur level gear. If you’re a pro, or need a step up, you’re likely already considering the excellent NTG3 from Rode. While these entry Videomics produce excellent sound quality for the price, you may need to tweak the audio in post to get acceptable results.
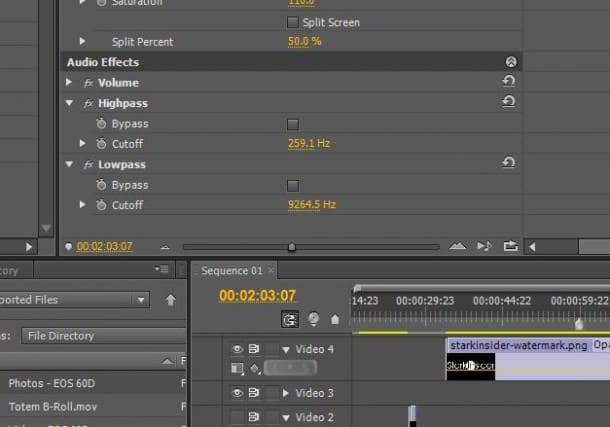
- In Adobe Premiere Pro, I use high-pass (to eliminate rumble) and low-pass (to eliminate hiss).
- For low pass I typically dial in around 9,500 Hz; this varies depending on the footage and project.
- For high pass I typically dial in around 120 Hz and will go higher if there is annoying room noise, such as when a heating or cooling system is running.
STARK INSIDER DSLR HQ
Rode Videomic Pro
4.5 out of 5 stars
Rode Videomic
4 out of 5 stars
Videos Shot with Canon DSLR and Rode Videomic
Here are some examples of the Rode Videomic Pro in action. The Cirque video is just raw outtakes, with little processing. The Chris Isaak video is processed and shot from a distance at about 150 yards at Robert Mondavi Winery. If you want to see a hot actress flirt with me… uh, I mean my camera, check out Elizabeth Olsen’s impression of Sharon Stone!
Cirque du Soleil TOTEM – behind the scenes (outtakes)
Canon EOS 60D, Canon 18-200mm lens, Rode Videomic Pro.
Chris Isaak Concert at Robert Mondavi in Napa
Canon EOS 60D, Canon 18-200mm lens, Rode Videomic Pro.
Elizabeth Olsen at the Mill Valley Film Festival (with bonus horror-ific soundtrack!)
Canon EOS 60D, Canon 18-200mm lens, Rode Videomic Pro, Zoom H1, Crappy $20 microphone. (and, yes, we do cover the red carpet a wee bit differently than most…)

